Set up your organization
Goal: Create an organization in Taia so your team can share projects, glossaries, translation memories, and billing.
Time: About 15 minutes.
You'll need: A Taia account and the email addresses of the people you want to invite.
This guide is for the person setting up the organization (the org manager). If you've been invited to join an existing organization, see Accept a team invitation below.
Step 1 — Create your organization
- Sign in at translate.taia.io.
- Go to your Profile page and click Manage Organization.
- If you don't have an organization yet, you'll land on the create-organization form. Enter your organization name and click Create.
You're now the organization manager with full access to manage teams, billing, and shared resources.
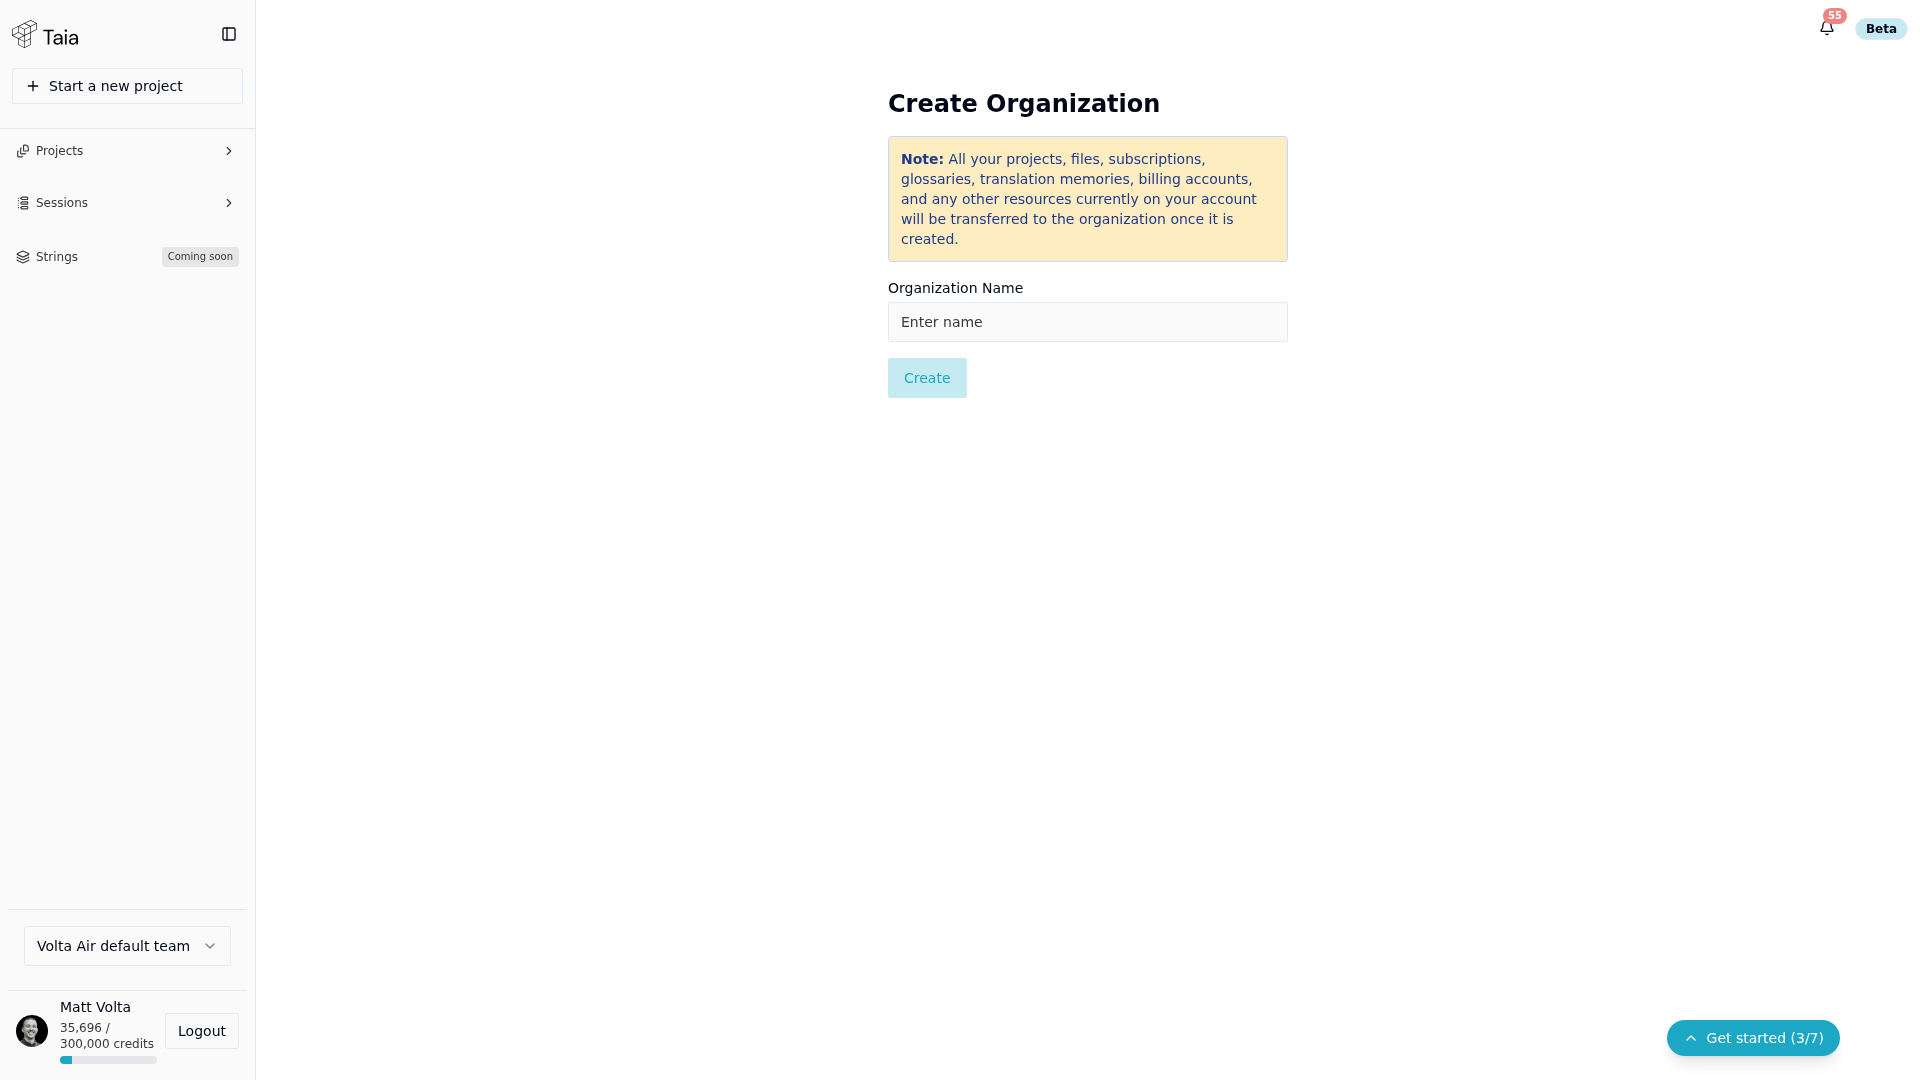
Creating an organization transfers all your existing projects, files, subscriptions, glossaries, translation memories, and billing accounts to it.
Step 2 — Set up a team
Organizations contain one or more teams. Teams are the units that share a subscription, glossaries, and translation memories.
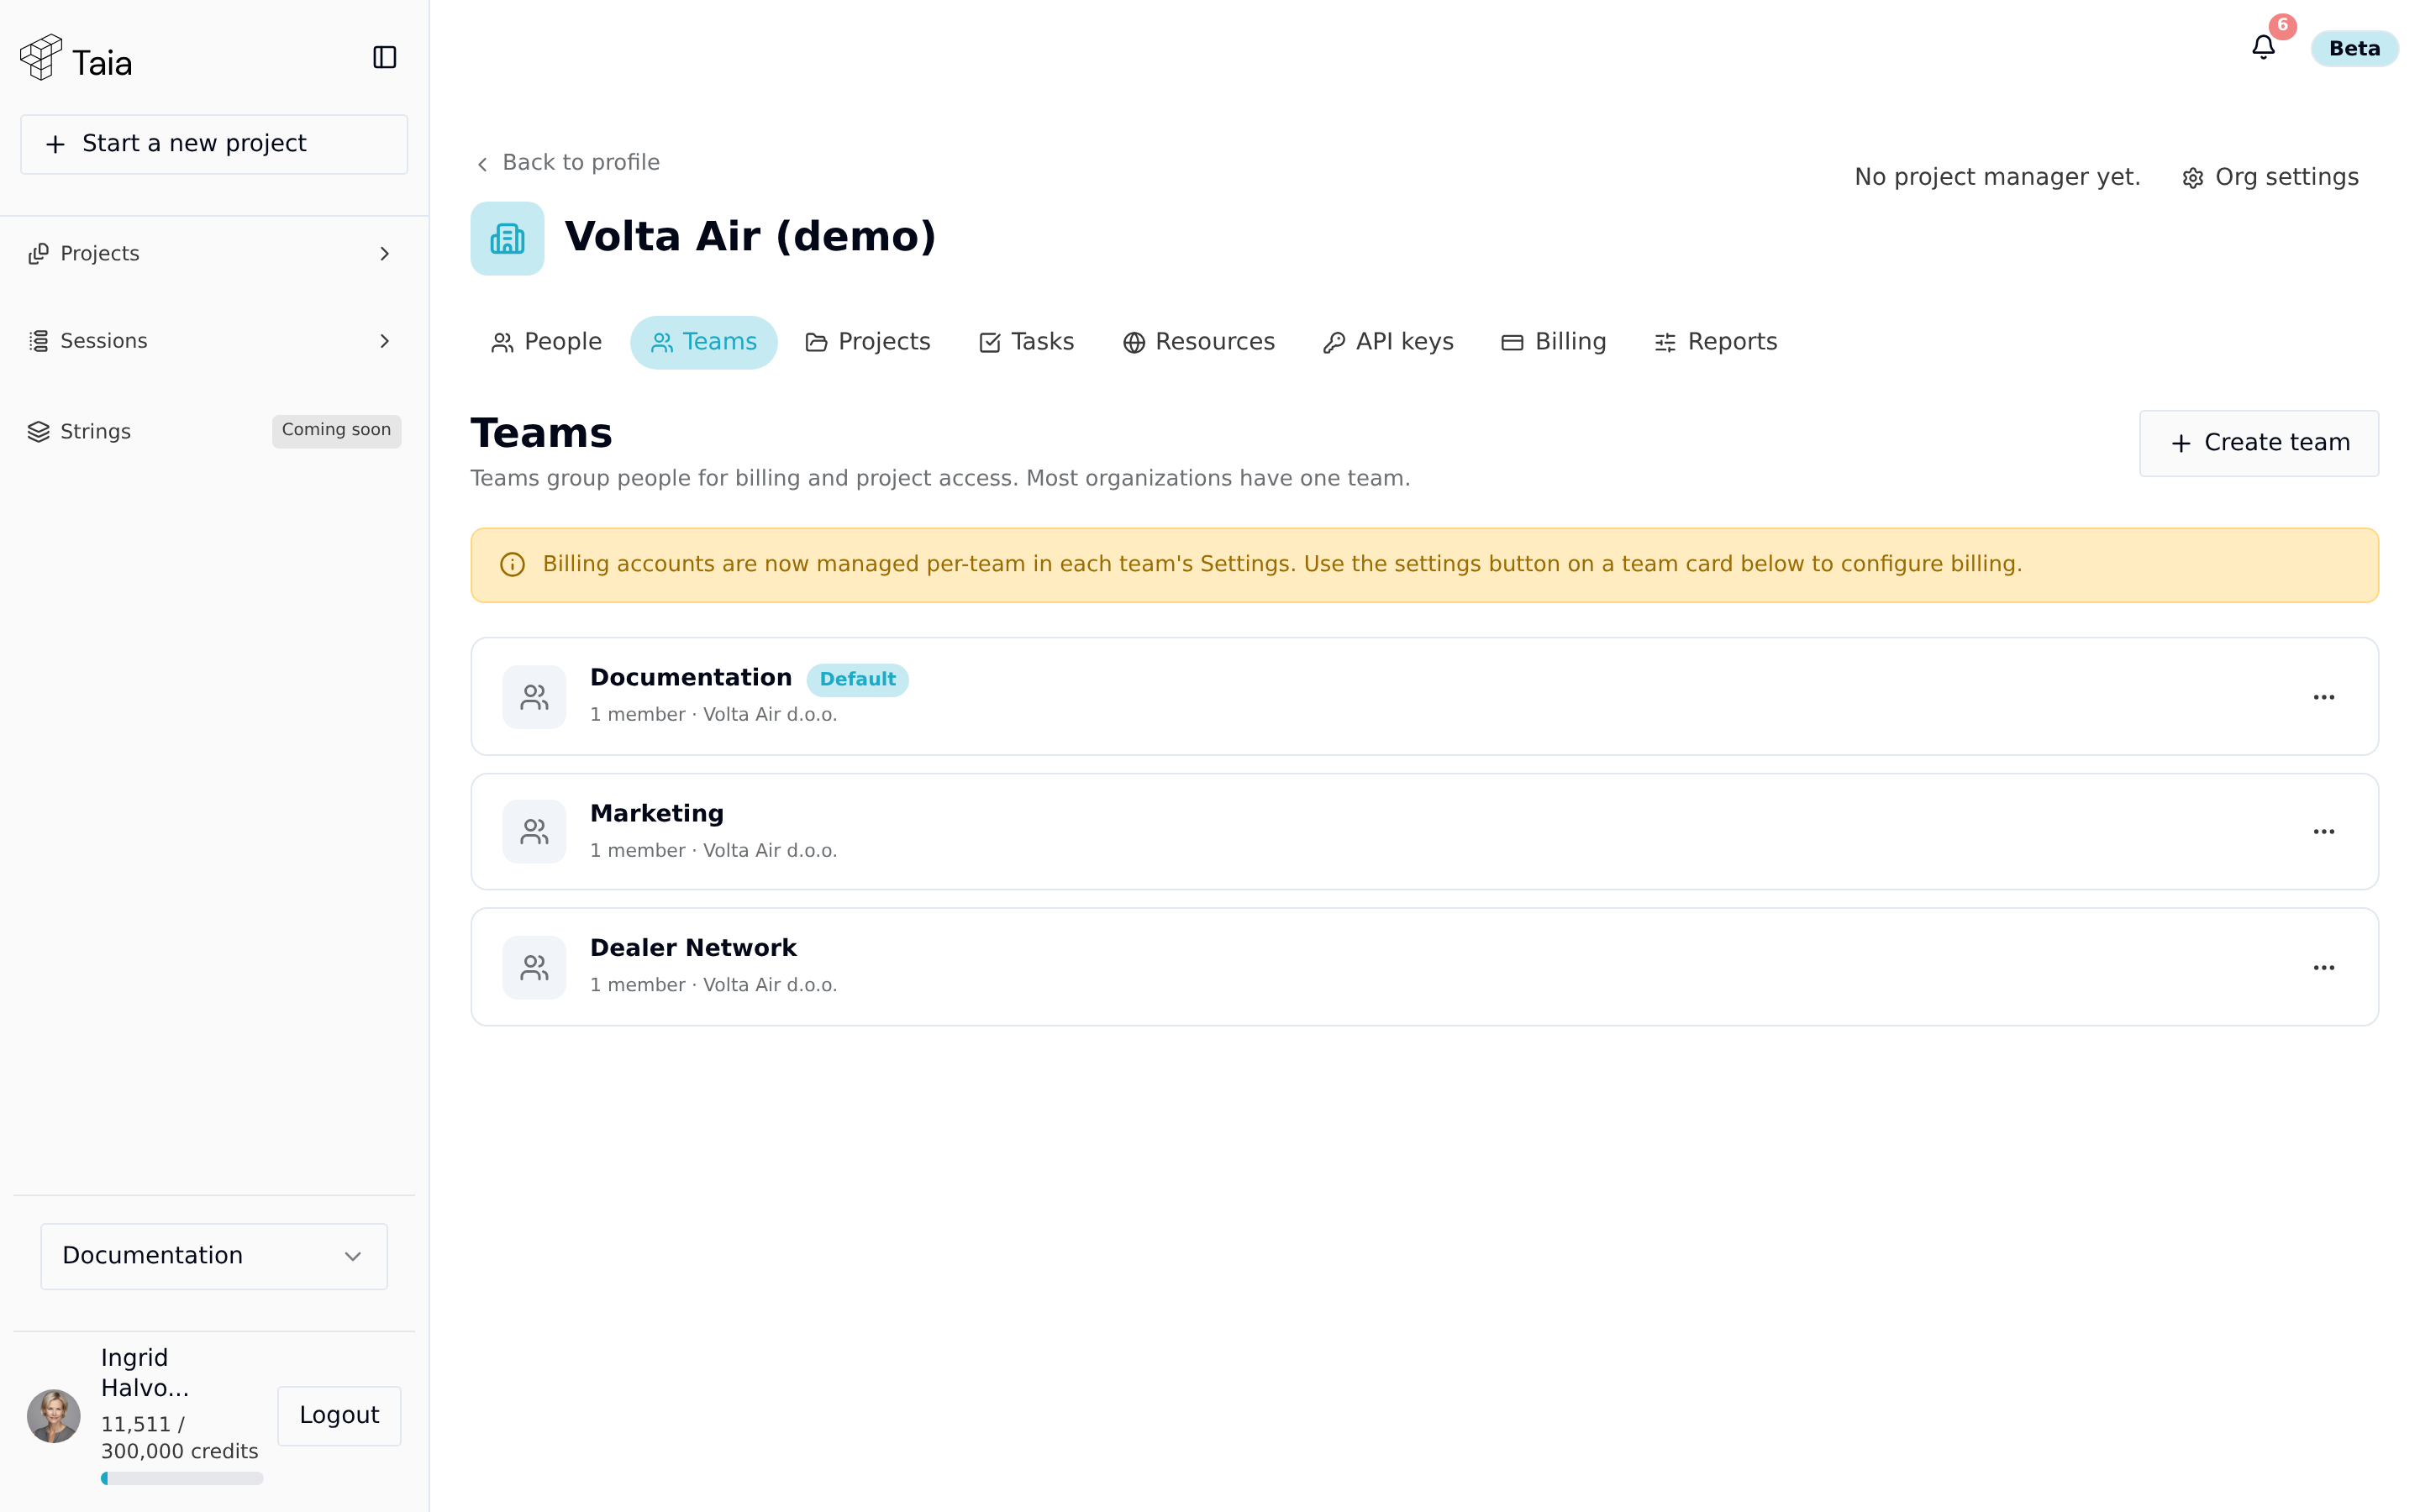
The Organization page has tabs for People, Teams, Projects, Tasks, Resources, API keys, Billing and Reports. You only see the ones your role allows.
- Open the Teams tab.
- Click Create team and give it a name (for example, "Marketing" or "Product").
- Billing accounts are managed per-team from each team's settings, not at creation time.
Step 3 — Invite team members
-
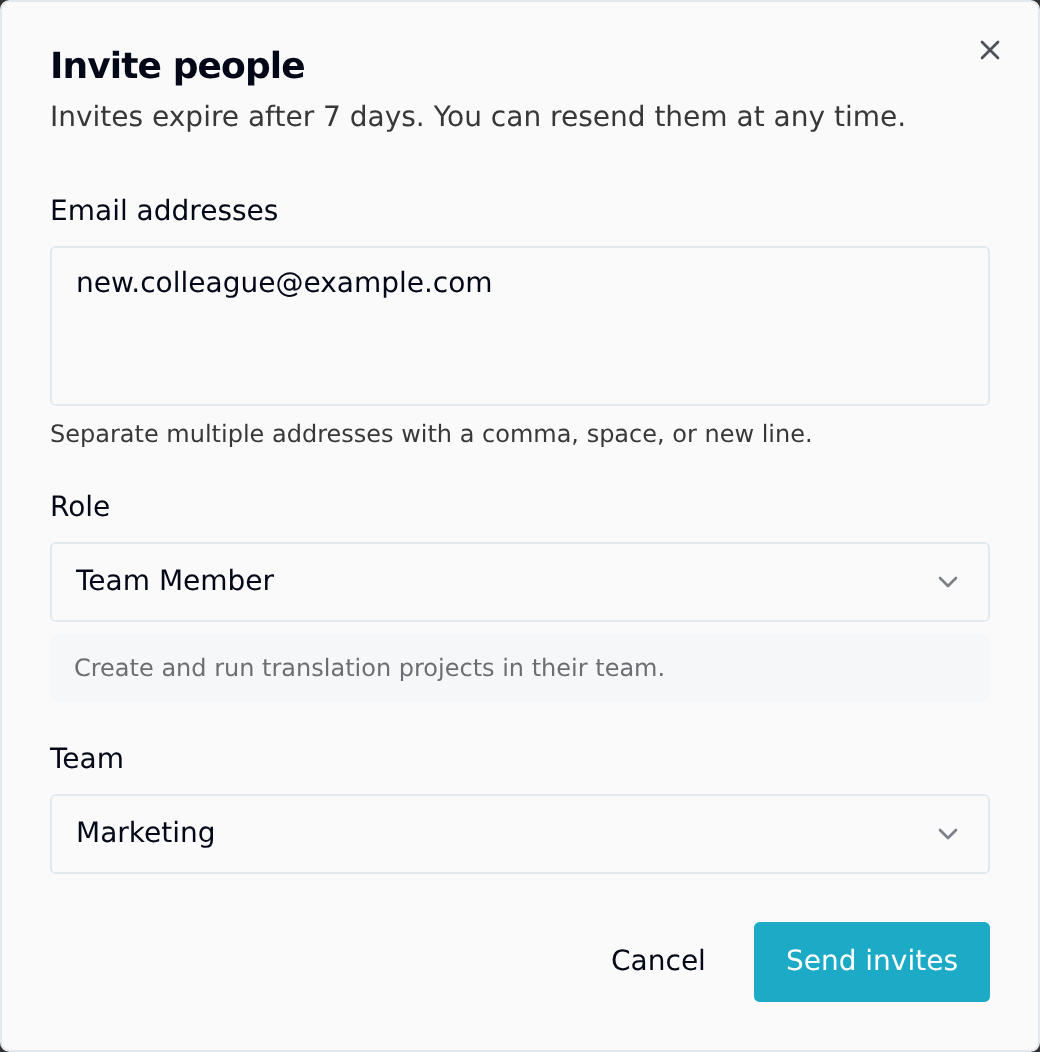
On the Organization's People tab, click Invite people.
-
Enter one or more email addresses (separate with a comma, space, or new line).
-
Select their role:
- Team Member: can translate files and view shared resources
- Limited Team Member: restricted access; can only work on tasks assigned to them
- Team Manager: can create tasks, assign work to team members, and view all team projects
- External Linguist: receives task assignments but is not a team member
- Organization Manager: full access to people, teams, billing and all projects
- Billing Manager: billing and subscription only, with no access to projects or teams
Organization Manager and Billing Manager are only offered to organization managers. A team manager sees only the other roles, and only the teams they manage.
-
Select which team they join. Every role except Organization Manager and Billing Manager belongs to a team, so the Team field is required for them (with only one team, the dialog just tells you which one they will join).
-
Click Send invites.
The invitee receives an email with a link to accept. They'll be added to your team automatically when they accept.
Step 4 — Set up shared resources (optional)
Once your team is set up, you can create shared resources that all team members can use:
- Shared glossary: open the organization's Resources tab, choose Glossaries, and create one there. It will be available to your team. See Create a glossary.
- Translation Memory: create a TM at
/translation_memories, or find the organization's ones under Resources, Translation memories. See Create and attach a translation memory. - Style Guide: set up brand voice rules under Resources, Style guides. Anyone can create one; applying it to a translation needs a Pro plan.
Separately, Org settings (top right of the Organization page) has a Guidelines tab. That one is not a style guide: it holds rules or instructions your members must confirm they've read before they create a new project, and only organization managers can edit it.
Step 5 — Subscribe to a plan
The free plan gives each team member 5,000 words per month. To scale up:
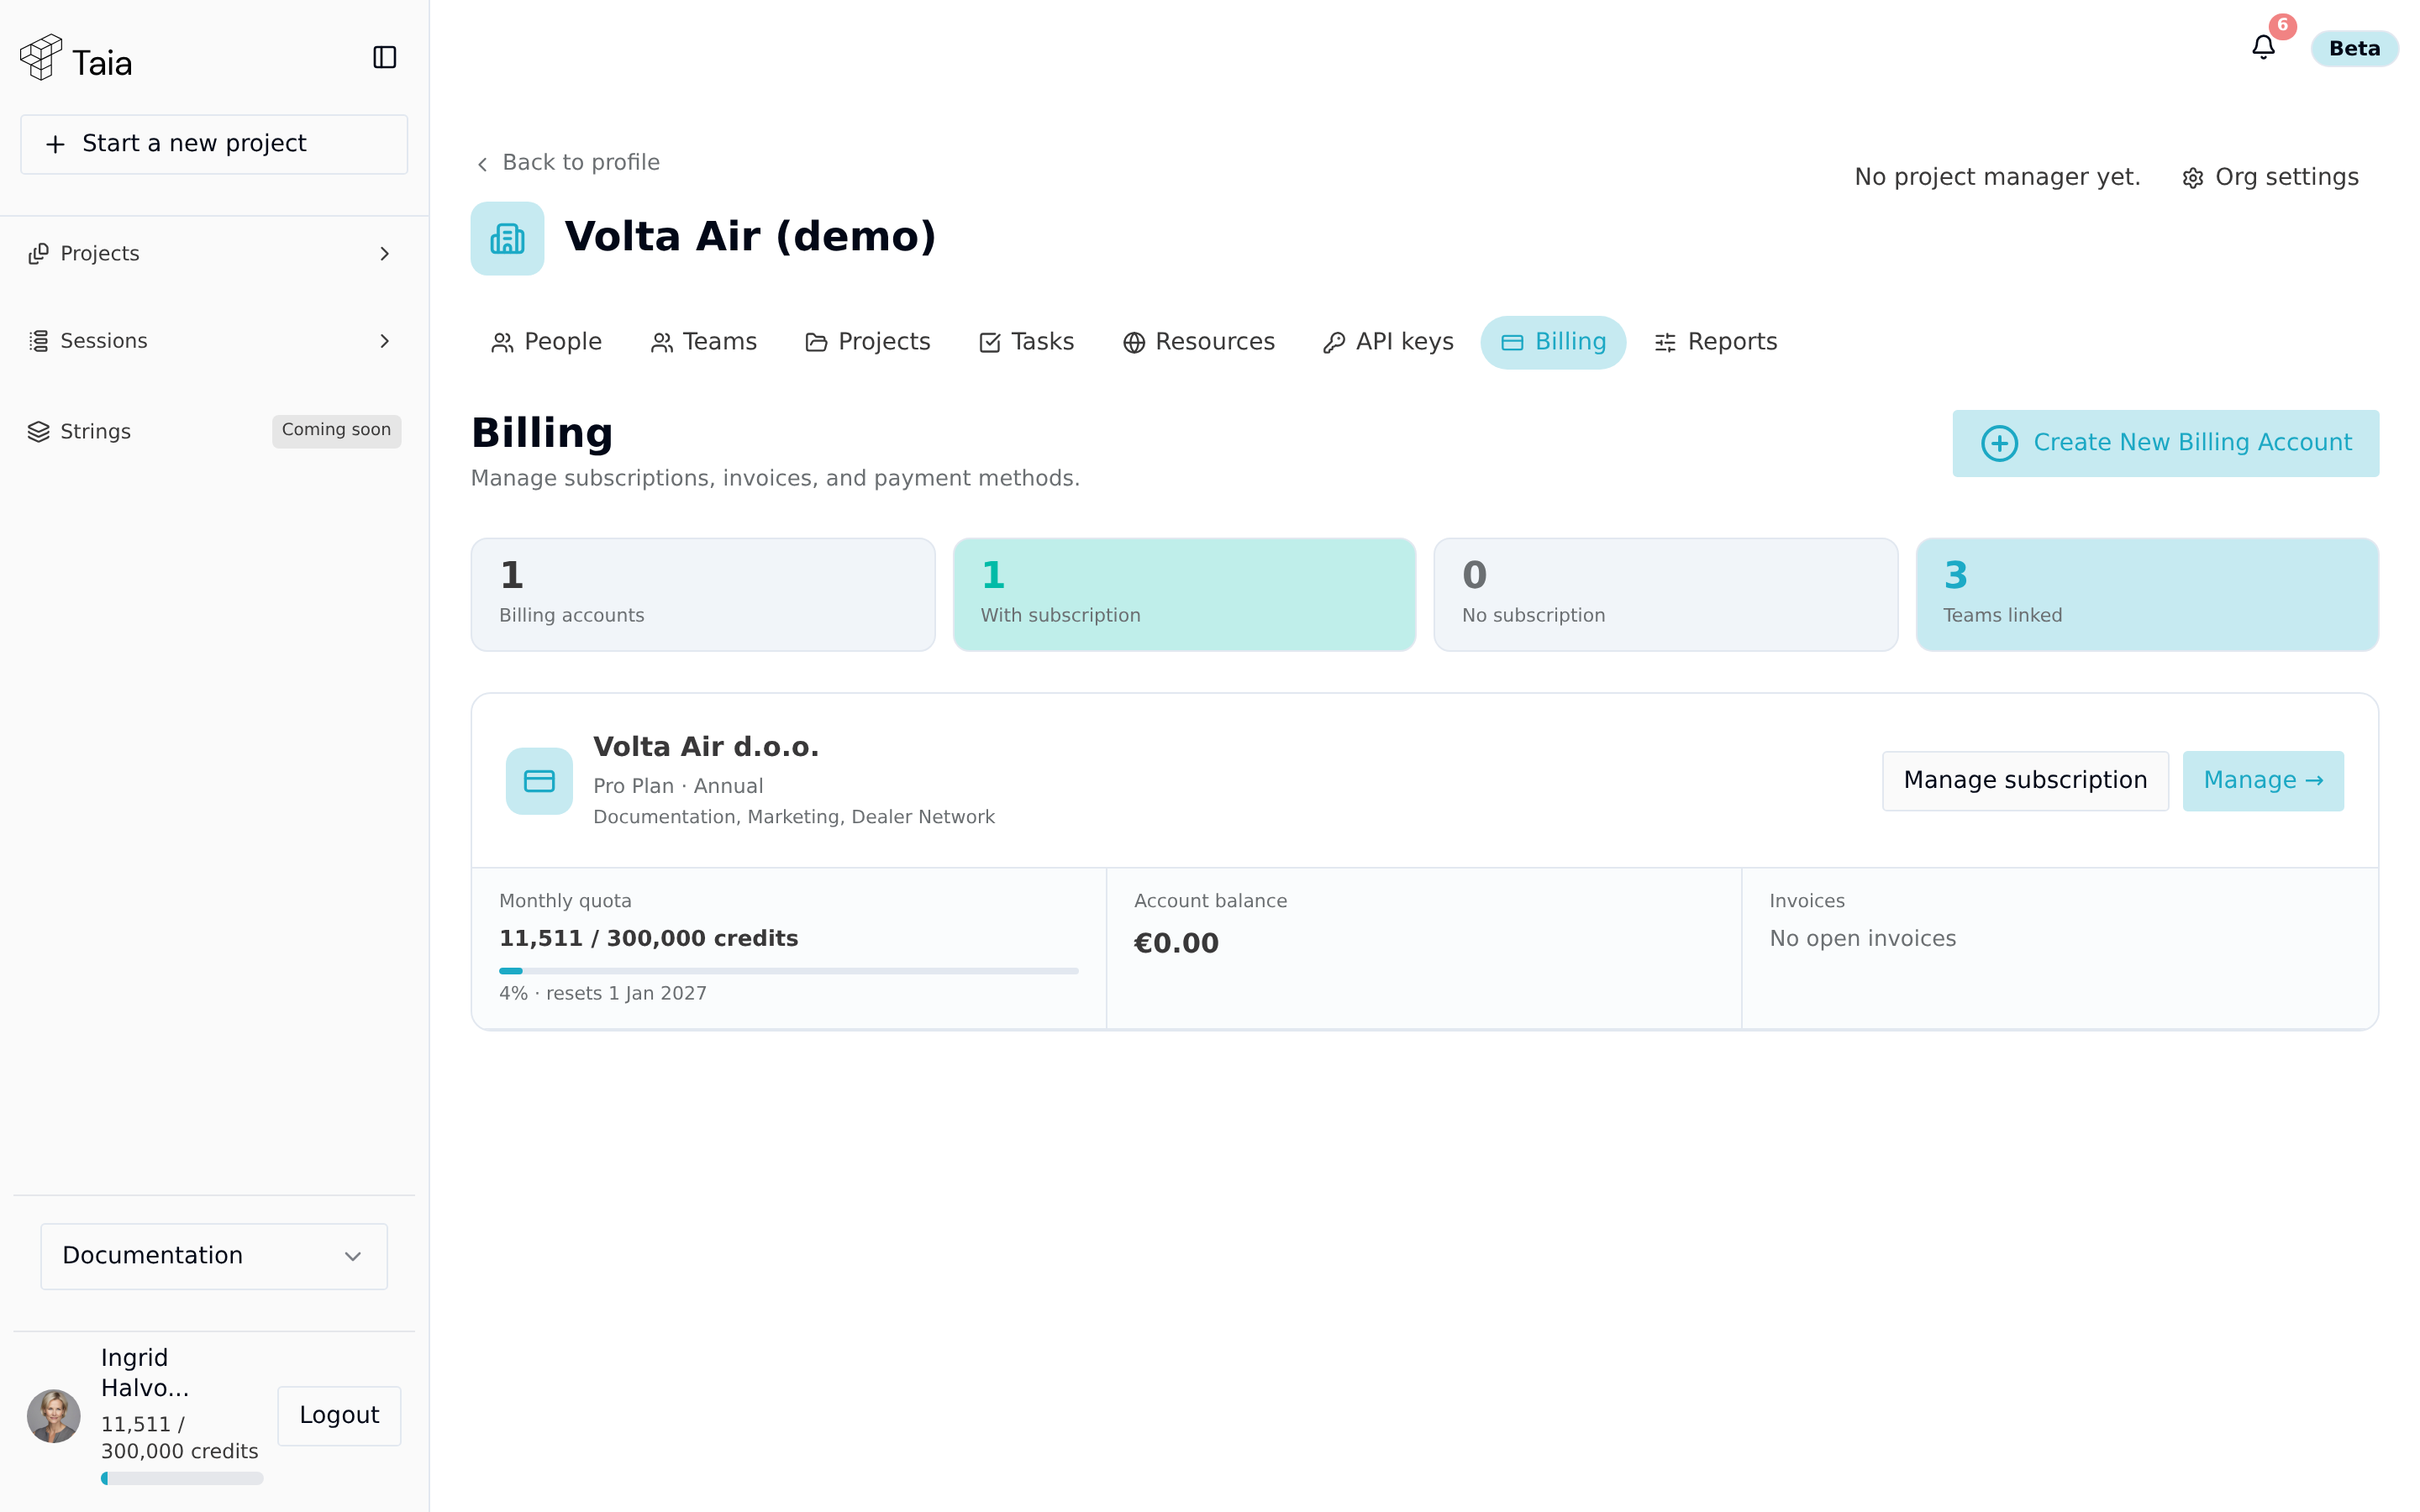
- On the Organization page, open the Billing tab. This lists your billing accounts — each with its own monthly quota, account balance, and invoices — not a plan-picker.
- Click Manage on a billing account to change its plan, or Create New Billing Account to add another.
- Complete checkout — the account's quota updates immediately.
See Upgrade your plan for the full walkthrough.
Accept a team invitation
If you've received an invitation email:
- Click the Accept Invitation link in the email.
- If you don't have a Taia account yet, you'll be prompted to create one.
- Once signed in, you'll be added to the organization automatically.
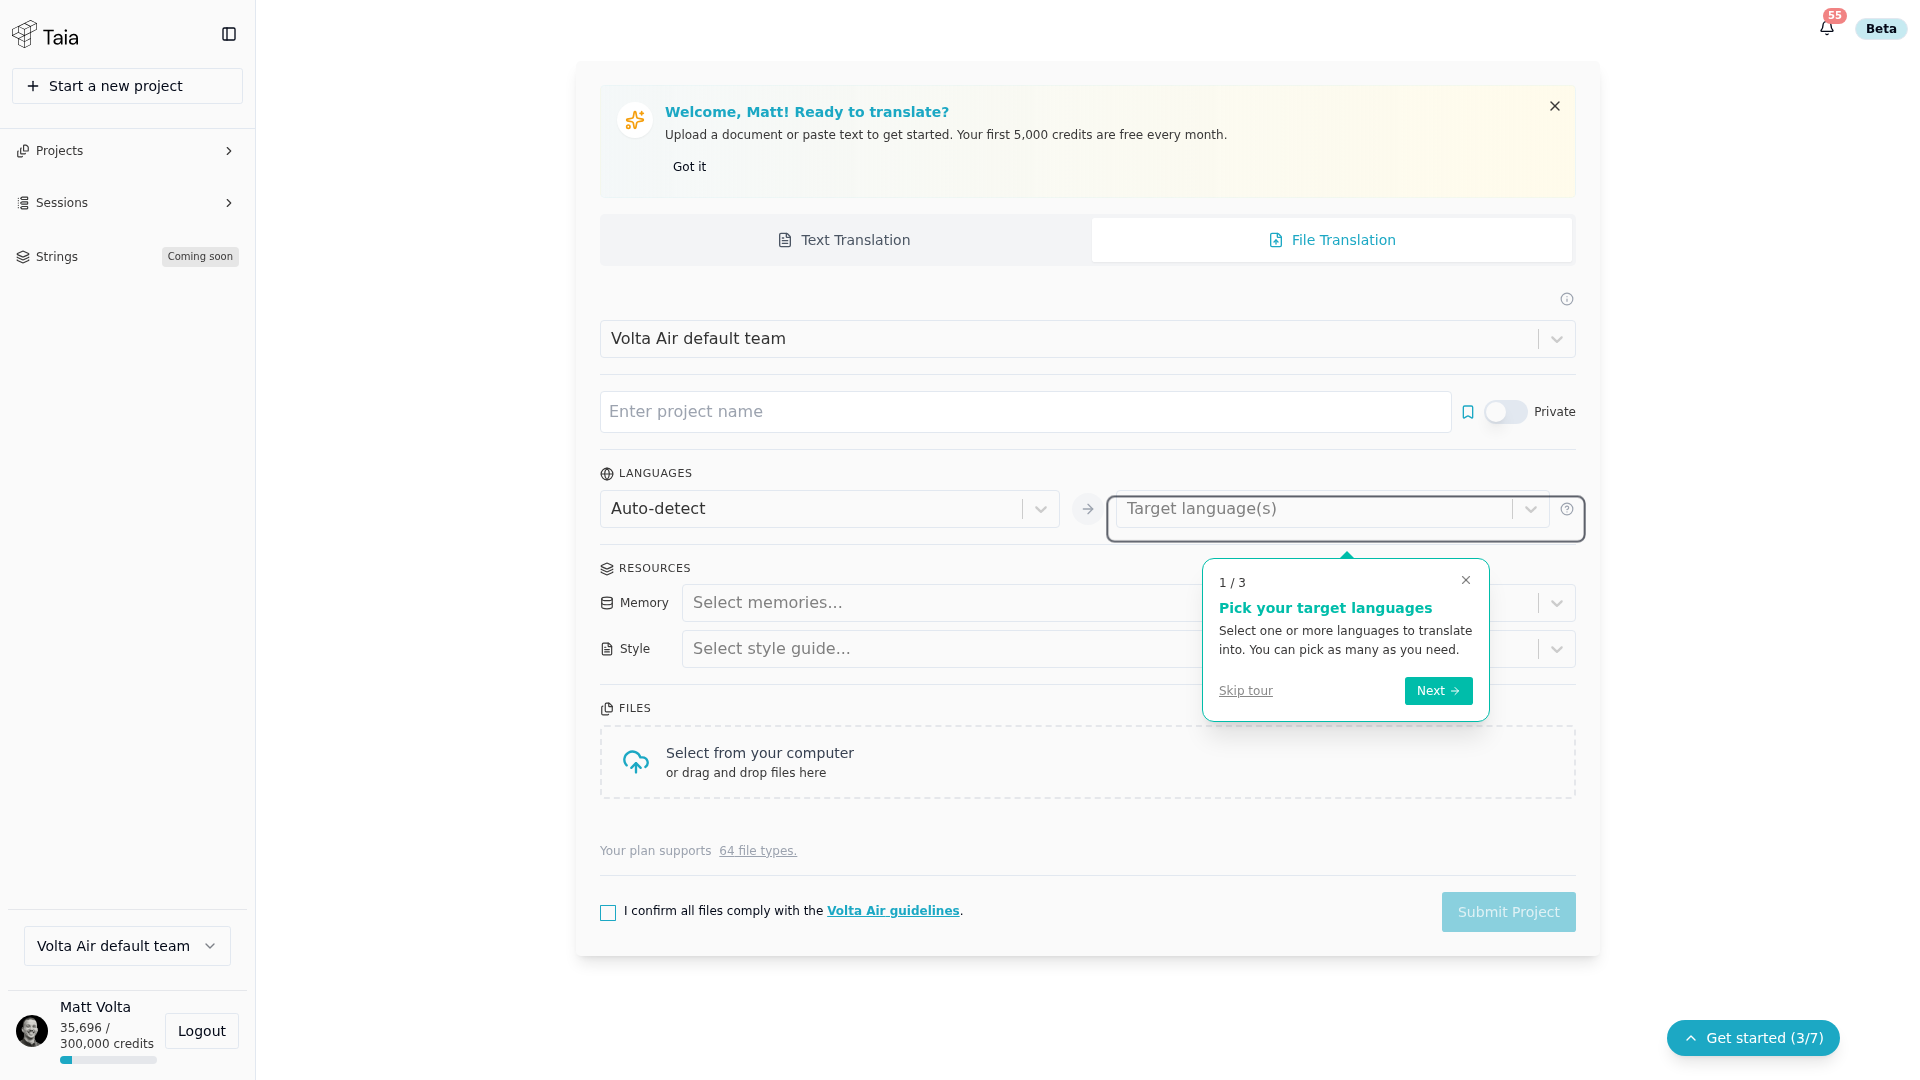
- Your sidebar will now show a team selector — click it to switch between your personal workspace and any teams you belong to.
What's next?
- Invite more team members
- Assign roles to team members
- Your first AI translation — run your first project as a team
- Create a glossary — enforce brand terminology across all team translations